Craving that irresistibly aromatic and flavorful bakery-style garlic bread? This guide unlocks the secrets to creating a loaf that rivals your favorite bakery. From selecting the perfect bread to mastering the garlic butter blend, you’ll be baking like a pro in no time!
Bakery-fresh garlic bread is a beloved side dish that elevates any meal, bringing warmth and savory satisfaction to the table. Unlike store-bought versions, homemade garlic bread allows for complete control over ingredients and flavor profiles, resulting in a truly exceptional culinary experience. This isn’t just about spreading garlic butter on bread; it’s about creating a symphony of flavors and textures that tantalize the taste buds.
Imagine the aroma of freshly baked bread mingling with the pungent scent of garlic and herbs, filling your kitchen with an irresistible invitation. This guide will walk you through the simple yet rewarding process of crafting garlic bread that rivals the best bakeries. We’ll explore the essential elements, from selecting the right loaf to preparing the perfect garlic butter and achieving that coveted golden-brown crust.
Whether you’re a seasoned home cook or a novice in the kitchen, these step-by-step instructions will empower you to create garlic bread that’s bursting with flavor and guaranteed to impress family and friends. Get ready to transform ordinary bread into an extraordinary culinary delight, bringing the taste of a bakery straight to your home.
Essential Ingredients for Garlic Bread
Creating exceptional bakery-fresh garlic bread starts with gathering the highest quality ingredients. The foundation of our garlic bread lies in a few key components, each playing a vital role in the final flavor and texture. First and foremost, you’ll need unsalted butter, preferably at room temperature for easy mixing. This provides richness and a creamy base for the garlic flavor to meld with.
Next, fresh garlic is non-negotiable. Grated or finely minced garlic cloves infuse the butter with their pungent aroma and signature taste. Fresh parsley, finely chopped, adds a touch of herbaceousness and visual appeal. Parmesan cheese, grated, brings a salty, umami element that complements the garlic and butter beautifully. A sprinkle of garlic powder amplifies the garlicky flavor, ensuring a robust and satisfying taste.
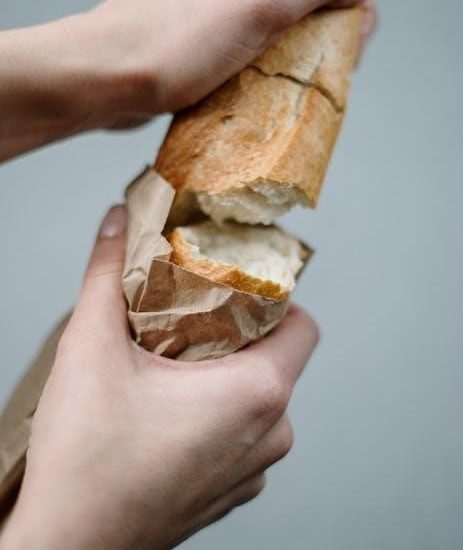
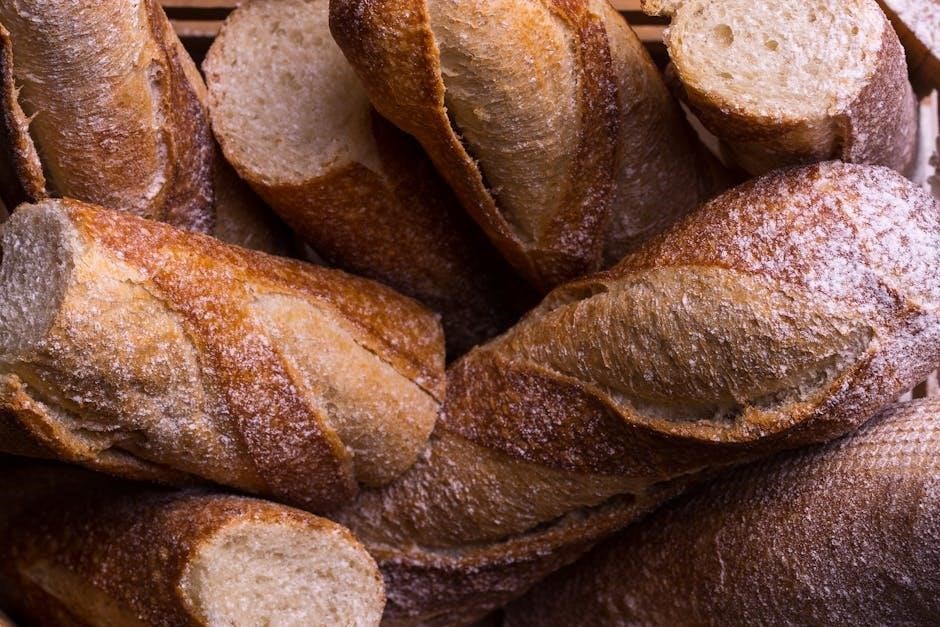
Finally, the bread itself is crucial. A French loaf or Italian bread provides the perfect canvas for our garlic butter masterpiece. These types of bread have a slightly crusty exterior and a soft, airy interior, ideal for soaking up the buttery goodness. With these essential ingredients in hand, you’re well on your way to creating garlic bread that rivals the best bakeries.
Preparing the Garlic Butter
The heart and soul of exceptional garlic bread lies in the garlic butter. This aromatic concoction is what transforms ordinary bread into a savory delight. Begin by ensuring your unsalted butter is softened to room temperature. This will allow for easy mixing and a smooth, consistent spread. In a mixing bowl, combine the softened butter with freshly minced or grated garlic. Don’t be shy with the garlic; it’s the star of the show!
Next, add finely chopped fresh parsley. This herb not only adds a pop of color but also a subtle, fresh flavor that complements the garlic. Incorporate grated Parmesan cheese for a salty, umami kick that enhances the overall taste profile. A pinch of garlic powder amplifies the garlicky flavor, ensuring a robust and satisfying experience. Finally, add a smidge of olive oil.
With a fork or spatula, thoroughly combine all the ingredients until well blended. The garlic butter should be smooth, creamy, and evenly distributed with garlic, parsley, and Parmesan. Taste and adjust seasoning as needed, adding a pinch of salt or pepper to your preference. Your garlic butter is now ready to transform ordinary bread into a bakery-worthy masterpiece!
Choosing the Right Bread
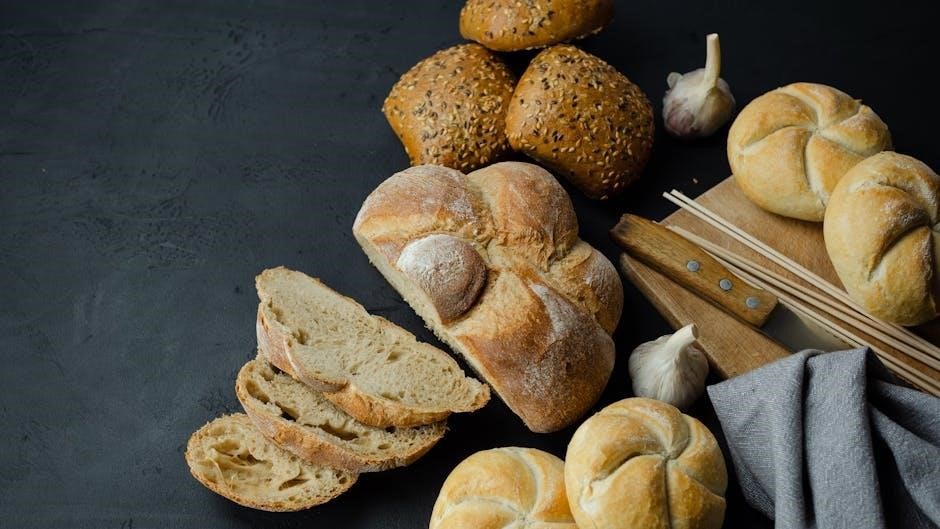
The foundation of exceptional garlic bread is, undoubtedly, the bread itself. Selecting the right loaf is crucial for achieving that perfect balance of crispy exterior and soft, flavorful interior. For bakery-style garlic bread, a French baguette or Italian loaf are excellent choices. These types of bread boast a slightly chewy texture and a sturdy crust that can withstand the garlic butter and baking process.
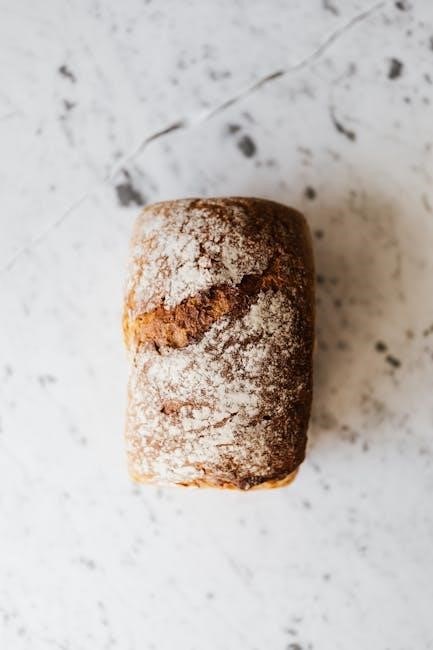
Opt for a loaf that is fresh and has a good crumb structure. The crumb refers to the interior texture of the bread; it should be airy with irregular holes. Avoid loaves that are overly dense or have a dry, crumbly texture. A fresh loaf will readily absorb the garlic butter, resulting in a more flavorful and moist garlic bread.
Consider the size and shape of the loaf as well. A longer, thinner baguette is ideal for creating individual slices of garlic bread, while a round Italian loaf can be sliced into wedges for a more communal serving style. Ultimately, the best bread is one that you enjoy and that complements the flavors of the garlic butter. Don’t be afraid to experiment with different types of bread to find your personal favorite!
Step-by-Step Instructions for Spreading Garlic Butter
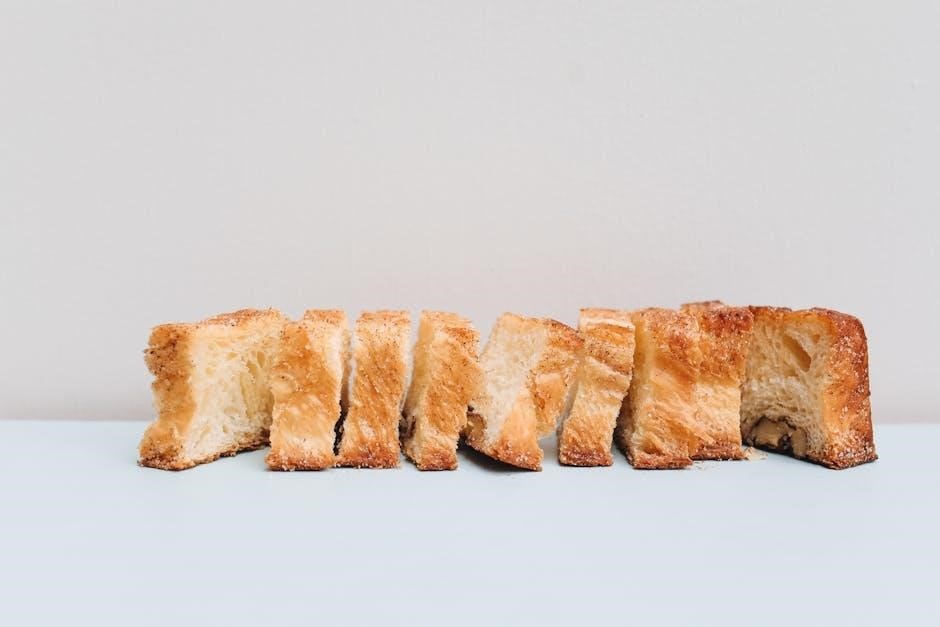
Once you’ve crafted your delectable garlic butter, the next crucial step is applying it to the bread. Proper spreading ensures that every bite is infused with that irresistible garlic flavor. Begin by slicing your chosen bread loaf lengthwise, creating two halves. Alternatively, for individual portions, slice the bread into 1-inch thick pieces, being careful not to cut all the way through, creating an accordion effect.
Now, with a butter knife or spatula, generously spread the garlic butter over the cut surfaces of the bread. Ensure an even coating, reaching all the way to the edges. For accordion-style bread, carefully work the garlic butter between each slice, maximizing the flavor penetration. Don’t be shy with the garlic butter! The more you apply, the more intense the garlic flavor will be.
If desired, reserve a small amount of garlic butter to brush over the crust of the bread before baking. This will help to create a beautiful golden-brown color and enhance the overall flavor. After spreading, the bread is ready for any additional toppings, such as cheese and herbs, or can be baked immediately for a classic garlic bread experience.
Adding Cheese and Herbs
Elevating your garlic bread to new heights involves the addition of cheese and herbs. This step allows for customization and enhances both the flavor and visual appeal. After spreading the garlic butter, sprinkle your choice of cheese generously over the bread. Parmesan is a classic choice, adding a salty and nutty flavor. Other excellent options include mozzarella for a gooey melt, or a blend of Italian cheeses for a more complex taste.
Next, sprinkle fresh or dried herbs over the cheese. Fresh parsley is a popular choice, providing a vibrant green color and a fresh, clean flavor. Other complementary herbs include basil, oregano, or chives. If using dried herbs, use about half the amount as fresh herbs, as their flavor is more concentrated. For a visually appealing presentation, chop the herbs finely before sprinkling.
Feel free to experiment with different cheese and herb combinations to find your perfect flavor profile. A sprinkle of red pepper flakes can also add a touch of heat. Once the cheese and herbs are added, your garlic bread is ready to be baked to golden, cheesy perfection. The combination of garlic butter, cheese, and herbs creates a symphony of flavors that will tantalize your taste buds.
Baking the Garlic Bread: Time and Temperature
Achieving the perfect bake is crucial for bakery-fresh garlic bread. Preheat your oven to 400°F (200°C) for optimal results. This temperature allows the bread to become crispy on the outside while remaining soft and chewy on the inside; Place the prepared garlic bread on a baking sheet lined with parchment paper for easy cleanup and to prevent sticking.
Baking time typically ranges from 12 to 15 minutes, but it’s essential to monitor the bread closely. The garlic bread is ready when the cheese is melted and bubbly, the edges are golden brown, and the garlic butter is sizzling. For a more intense golden-brown crust, you can broil the garlic bread for the last minute or two, but watch it carefully to prevent burning.
The exact baking time may vary depending on your oven and the type of bread used. If you’re using a thicker loaf, it may require a slightly longer baking time. Conversely, thinner slices may cook faster. Use your senses to determine when the garlic bread is perfectly baked. The aroma of garlic and herbs filling your kitchen is a good indication that it’s almost ready. Let the garlic bread cool slightly before slicing and serving to prevent burning your mouth on the hot cheese.
Air Fryer Garlic Bread Method
For a quicker and equally delicious alternative to oven-baked garlic bread, the air fryer is your best friend. Preheat your air fryer to 375°F (190°C). This temperature ensures that the garlic bread cooks evenly and achieves a satisfying crispness without burning. Place the prepared garlic bread slices in the air fryer basket, ensuring they are not overcrowded. You may need to cook in batches depending on the size of your air fryer.
Air fry for 5-7 minutes, or until the bread is golden brown and the cheese is melted and bubbly. Keep a close eye on the garlic bread as air fryers can cook food quickly. If you prefer a softer texture, reduce the cooking time slightly. For a crispier crust, add an extra minute or two.
The air fryer method is perfect for smaller portions or when you’re short on time. It delivers a similar taste and texture to oven-baked garlic bread with the added benefit of a quicker cooking time and less energy consumption. Remember to let the garlic bread cool slightly before serving. Enjoy your quick and easy air-fried garlic bread!
Achieving the Perfect Golden-Brown Crust
The hallmark of exceptional garlic bread is its perfectly golden-brown crust, offering a delightful textural contrast to the soft, flavorful interior. Several factors contribute to achieving this ideal crust. Firstly, the oven temperature plays a crucial role. A temperature of 400°F (200°C) is generally recommended, providing enough heat to crisp the bread without burning the garlic butter. Position the baking rack in the middle of the oven to ensure even heat distribution.
Secondly, the type of bread used significantly impacts the crust’s final outcome. French bread or Italian loaves are excellent choices due to their naturally crusty exterior. Ensure the bread is fresh, as stale bread tends to dry out rather than crisp up. Monitor the baking process closely, as oven temperatures can vary. The garlic bread is ready when the crust turns a rich golden-brown color, and the edges are slightly crisp.
A light brushing of olive oil before adding the garlic butter can also enhance browning. For an extra touch, consider adding a sprinkle of Parmesan cheese during the last few minutes of baking to create a beautifully golden, cheesy crust.
Serving Suggestions and Pairings
Freshly baked garlic bread, with its irresistible aroma and flavors, is a versatile accompaniment to a wide array of dishes. Its savory, garlicky notes make it a perfect partner for Italian classics like spaghetti and meatballs, lasagna, or any pasta dish with a rich tomato-based sauce. The bread’s crisp texture is ideal for soaking up the delicious sauces, enhancing the overall dining experience.

Beyond Italian cuisine, garlic bread complements grilled meats, such as steak or chicken, adding a touch of warmth and flavor. It also pairs well with soups and salads, providing a satisfying carbohydrate element to balance the meal. Consider serving it alongside a hearty minestrone soup or a fresh Caesar salad.
For a more casual setting, garlic bread can be enjoyed as an appetizer or snack. Cut into smaller slices and served with a dipping sauce, such as marinara or pesto, it’s a crowd-pleasing option. You can also get creative with toppings, adding ingredients like mozzarella cheese or sun-dried tomatoes for an extra burst of flavor. The possibilities are endless!
Freezing and Reheating Instructions
Garlic bread is wonderfully freezer-friendly, allowing you to enjoy a taste of bakery-fresh goodness whenever the craving strikes. To freeze, allow the baked garlic bread to cool completely. Wrap the loaf tightly in plastic wrap, ensuring all surfaces are covered to prevent freezer burn. For added protection, place the wrapped loaf in a freezer-safe bag or container. Properly stored, garlic bread can last up to 2-3 months in the freezer.
When ready to reheat, there are several options. For a crispy crust, preheat your oven to 350°F (175°C). Remove the frozen garlic bread from its packaging and place it directly on the oven rack or a baking sheet. Bake for 10-15 minutes, or until heated through and the crust is golden brown. Alternatively, you can reheat individual slices in a toaster oven or under the broiler, keeping a close watch to prevent burning.
For a quicker reheating method, microwave individual slices for 20-30 seconds, but be aware that the crust may become softer. Reheating from frozen is the best way to maintain the bread’s texture and flavor, ensuring a delicious and convenient treat.
Tips for Extra Flavor
Elevate your garlic bread from simple to sensational with these flavor-boosting tips! Roasting the garlic before incorporating it into the butter spread creates a mellow, sweet, and intensely garlicky flavor that’s far superior to raw garlic. Simply toss garlic cloves with olive oil and roast until softened and fragrant, then mash into the butter mixture.
Don’t be afraid to experiment with different herbs. Fresh rosemary, thyme, or oregano can add a delightful aromatic complexity. A pinch of red pepper flakes can introduce a subtle kick, while sun-dried tomatoes, finely chopped, can provide a burst of umami richness. For a cheesy twist, try incorporating a blend of cheeses like Asiago or provolone alongside Parmesan.
Adding a touch of acidity can also enhance the overall flavor. A squeeze of lemon juice or a splash of balsamic vinegar to the garlic butter can cut through the richness and brighten the taste. Remember to taste and adjust the seasonings to your preference, ensuring a harmonious balance of flavors. With a little creativity, your garlic bread will be an unforgettable culinary experience!
Troubleshooting Common Issues
Even with the best intentions, garlic bread baking can sometimes present challenges. If your garlic bread is burning on the edges but not yet golden brown in the middle, try lowering the oven temperature slightly and covering the bread loosely with aluminum foil during the last few minutes of baking. This will prevent further browning while allowing the center to catch up.
On the other hand, if your garlic bread is pale and lacks that desirable golden-brown crust, ensure that your oven is properly preheated and that the bread is positioned in the center rack. You can also try broiling it for a minute or two at the very end, but keep a close watch to prevent burning.
If your garlic butter is separating or becoming greasy, it might be due to over-melting the butter. Make sure the butter is softened, not melted, before mixing with the other ingredients. If your garlic bread tastes bland, it could be that the garlic flavor is not pronounced enough. In this case, consider using roasted garlic for a more intense flavor or adding a pinch of garlic powder to the mix.