Getting Started with Your Slow Cooker
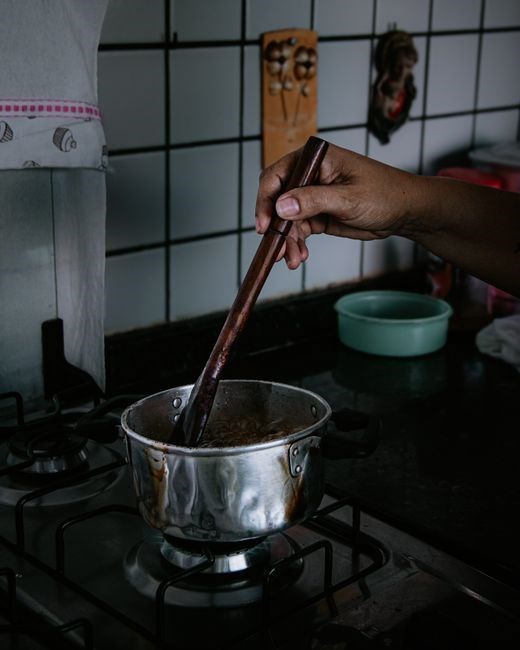
Unbox the Crock‑Pot, place the stoneware on a flat surface, and connect the power cord․ Before first use, read the manual for safety and note the low/high settings․ Fill the pot with water or broth, add ingredients, secure the lid, and set the desired temperature․Preheat 15 minutes before adding ingredients
Unboxing and First Time Setup
Begin by carefully removing the Crock‑Pot from its packaging․ Inspect the removable stoneware insert for any visible scratches or cracks; these should be minimal if the unit was handled properly․ Place the stoneware on a stable, heat‑resistant surface, ensuring that the lid’s hinge area is clear of obstructions․ Connect the power cord to a grounded outlet, and verify that the plug is fully seated․ Before turning the appliance on, read the manufacturer’s safety instructions, paying particular attention to the recommended maximum fill level—typically 2/3 full for liquids and 1/2 full for solids․ This prevents overflow during the long cooking cycle․ If your model includes a warming setting, note its placement on the control dial; it is usually labeled “Warm” and is intended to keep finished dishes at a safe serving temperature without further cooking․ The stoneware’s interior is dishwasher safe, but the metal housing should be wiped with a damp cloth to avoid moisture buildup․ Finally, set the desired temperature (Low or High) and timer, then add your first batch of ingredients․ Allow the cooker to preheat for 15 minutes before sealing the lid to ensure even heat distribution․ Once the cycle begins, you can safely leave the kitchen and return to a ready‑to‑serve meal․
This initial setup phase establishes a foundation for consistent results․ By following these steps, you’ll reduce the risk of mishaps and ensure that your slow cooker operates efficiently from day one․ Remember to keep the area around the appliance dry and to store the manual in a convenient location for future reference․ If you encounter any issues, consult the troubleshooting section of the manual or contact customer support for assistance․
Reading the Manual and Safety Tips
Before you start, locate the manual that came with your Crock‑Pot․ Read the safety warnings, noting that the appliance should never be placed on a heat source, and that the pot must be fully seated before power is applied․ The manual’s “Before You Use” section explains the maximum fill levels for liquids and solids—overfilling can cause spills and uneven cooking․ Pay close attention to the control panel: identify the Low, High, and Warm settings, and note the recommended cooking times for common dishes․ The manual also lists troubleshooting tips, such as what to do if the cooker does not turn on or if the food cooks unevenly․ Remember that the warming setting is not a substitute for proper food temperature; always check that the dish reaches at least 140°F before serving․ Following these instructions will help you avoid accidents, extend the life of your slow cooker, and ensure safe, consistent results․
When using your Crock‑Pot, always place it on a stable, heat‑resistant surface and keep it away from the counter edge to avoid tipping․ Never leave the appliance unattended while cooking, and avoid placing the pot on a hot stove or oven․ If you need to open the lid, do so quickly to maintain temperature․ After each use, unplug the unit and let it cool before cleaning․ The stoneware insert is dishwasher safe, but hand‑washing with mild detergent preserves its finish․ Store the appliance in a dry place, keeping the power cord out of the way to prevent tripping hazards․ Following these precautions ensures a safe, convenient slow‑cooking experience․ Keep the pot upright at alltimes․
Essential Slow Cooker Techniques
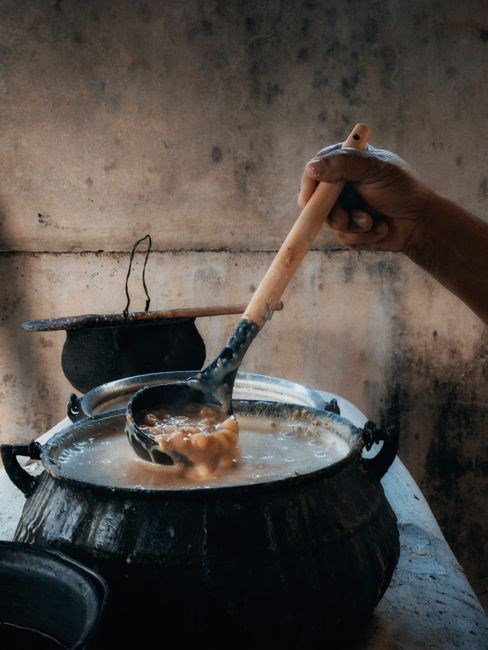
Start with a clean stoneware insert; add a splash of liquid to prevent sticking․ Layer tougher meats at the bottom, then vegetables, and finish with herbs on top․ Use the low setting for 8‑12 hrs, high for 4‑6 hrs, and keep the lid closed to lock heat․ Enjoy cooking!․
Layering Ingredients for Flavor
Use a trivet or a small heat‑resistant plate to keep the pot slightly elevated; this improves circulation and prevents scorching․ Layer denser items like root veggies near the heat source, while lighter items such as tomatoes or leafy greens go on top to preserve texture; For extra aroma, place a handful of fresh herbs or a bay leaf in a small cheesecloth pouch and tuck it into the center of the pot․ This keeps herbs from dispersing too quickly and allows them to infuse the entire dish over the slow cooking period․
Use a trivet or a small heat‑resistant plate to keep the pot slightly elevated; this improves circulation and prevents scorching․ Layer denser items like root veggies near the heat source, while lighter items such as tomatoes or leafy greens go on top to preserve texture․ For extra aroma, place a handful of fresh herbs or a bay leaf in a small cheesecloth pouch and tuck it into the center of the pot․ This keeps herbs from dispersing too quickly and allows them to infuse the entire dish over the slow cooking period․ This ensures even heat distribution
Using the Warming Setting Effectively
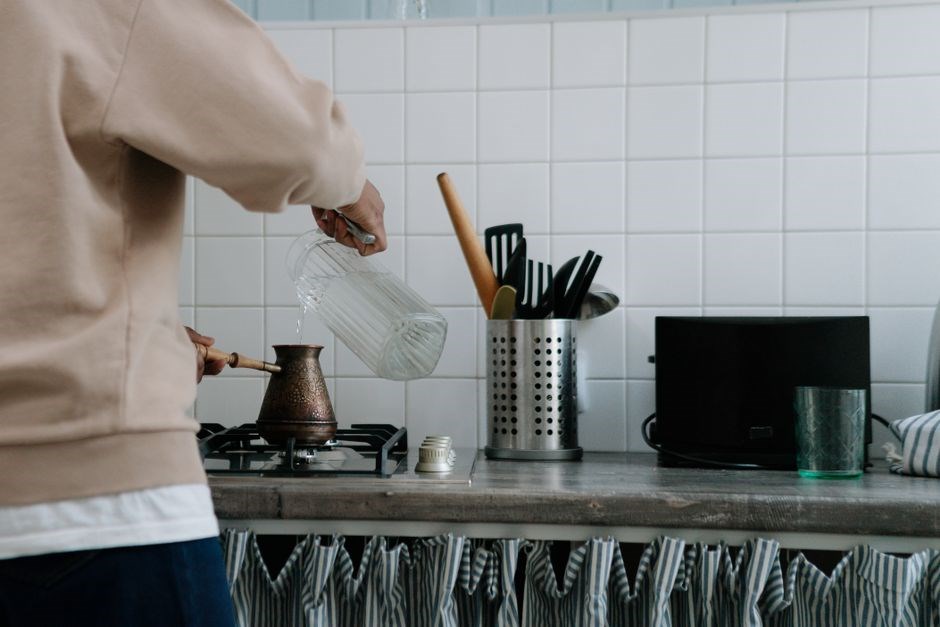
When you finish a slow‑cooked meal, use the warming setting to keep the dish at a safe 140°F (60°C) without overcooking․ Set the cooker to “warm” after the main phase; this is ideal for holding chili, stew, or soup while guests arrive or for reheating a roast portion․ The warming setting is not for raw ingredients, as it can leave food in the danger zone (40–140°F)․ Use a thermometer to confirm that the temperature stays above 140°F․ Stir occasionally to prevent a crust from forming on the bottom now
Many models feature a “keep warm” button that automatically switches to low heat after the preset cooking time, allowing you to cook today without appliances․
Timing and Temperature Settings
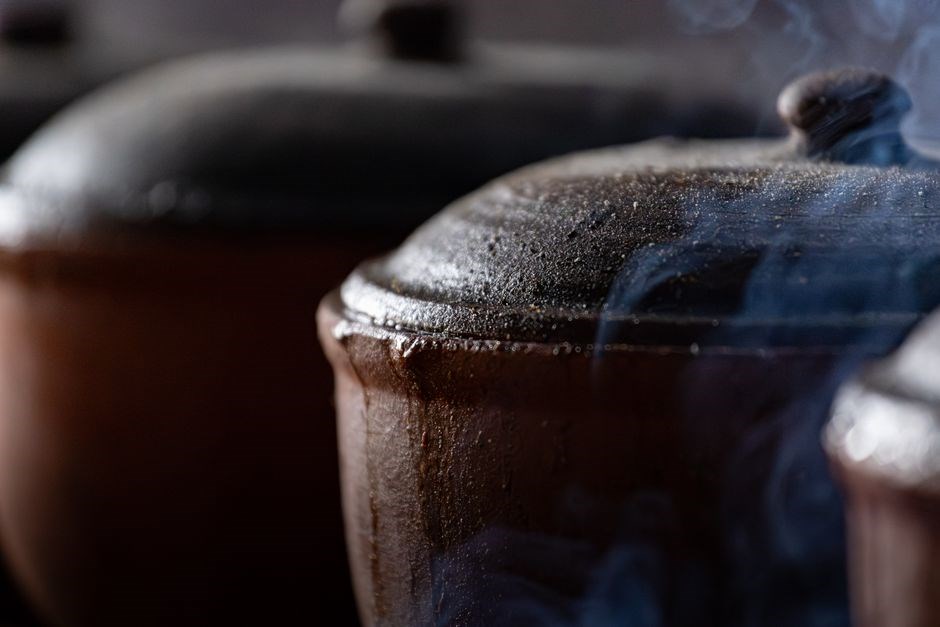
Low heat cooks 8–10 hrs, high 4–6 hrs․ Adjust for 3,000‑5,000 ft altitude by adding 15 min per 1,000 ft․ Use a thermometer to ensure 165°F for poultry․ For large batches, increase time by 30 min per additional 1‑quart․ Keep the lid closed; heat stays for 30 min․!!
Low vs; High Heat Cooking Times
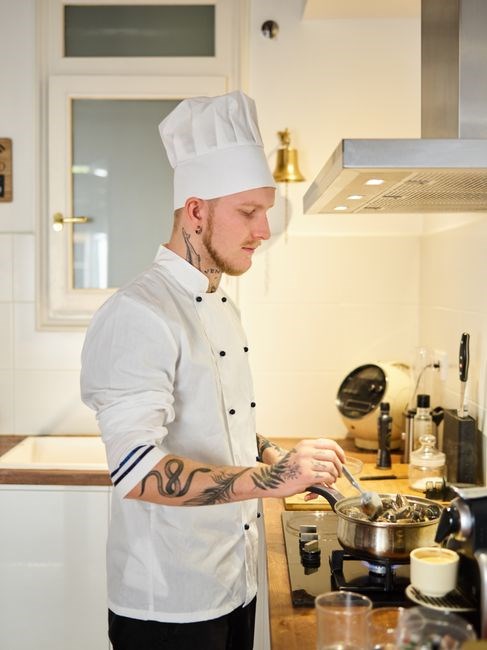
When using a slow cooker, the choice between low and high heat dramatically affects flavor, texture, and timing․ Low heat (typically 200–210 °F) allows proteins to break down slowly, resulting in tender, moist dishes that retain moisture and develop deep, complex flavors․ A 6‑quart pot on low will take 8–10 hours for a 3‑lb roast, 6–8 hours for a 2‑lb stew, or 12–14 hours for a hearty bean dish․ High heat (around 300 °F) cooks faster—roughly half the time—yet can cause tougher meat, uneven cooking, or a slightly drier result․ For a 3‑lb roast on high, expect 4–5 hours; a 2‑lb stew, 3–4 hours; beans, 6–8 hours․ The high setting is ideal for quick weeknight meals or when you need a dish ready in a shorter window․ However, for delicate ingredients like fish or eggs, low heat is preferable to prevent overcooking․ Additionally, low heat preserves more nutrients and reduces the risk of scorching the bottom of the pot, especially when using a stoneware insert․ When switching from low to high, remember to add the lid back on to maintain heat; a brief pause can cause a temperature drop that prolongs cooking․ Finally, always check the manufacturer’s recommended times for specific models, as variations in wattage can shift the actual cooking duration by 10–15 %․ By mastering low versus high heat, you can tailor each meal to your schedule and taste preferences while ensuring consistent, restaurant‑quality results․ By experimenting with cuts of meat, cooking times, and seasoning blends, you can build a custom slow‑cooking repertoire that satisfies every palate․
Adjusting for Altitude and Batch Size
At elevations above 2,000 ft the boiling point drops, causing liquids to evaporate more quickly and flavors to concentrate․ Increase the liquid volume by 1–2 Tbsp per quart of pot, or add a splash of broth to compensate․ If your recipe calls for a 6‑quart pot, use a 7‑quart or add 1 cup of water․ For high‑altitude cooking, lower the temperature setting by one level (e․g․, from high to low) and extend the cooking time by 30–60 minutes․ Conversely, a smaller batch can cook too quickly; keep the lid on and monitor the internal temperature, reducing the time by 10–15 % per quart removed․ Use a thermometer to verify doneness—meat should reach 165 °F, stews 180 °F․ By adjusting liquid, temperature, and time, you can maintain consistent results regardless of altitude or portion size․
When cooking multiple batches, use a separate pot or stagger start times to keep each batch within the optimal temperature range․ Large batches may require a higher initial setting to bring the core temperature up, then switch to low to finish․ Batches can be cooked on low from the start, but watch for overcooking; a quick check at the 70‑percent mark helps prevent drying․ Always keep the lid on to preserve heat; lifting it releases steam and lengthens cooking time․ If you notice the liquid level dropping below the minimum line, add a small amount of water or broth to maintain moisture․ By carefully balancing liquid, heat, and time, you’ll achieve tender, flavorful results every time, no matter the altitude or portion size
Ingredient Preparation and Tips
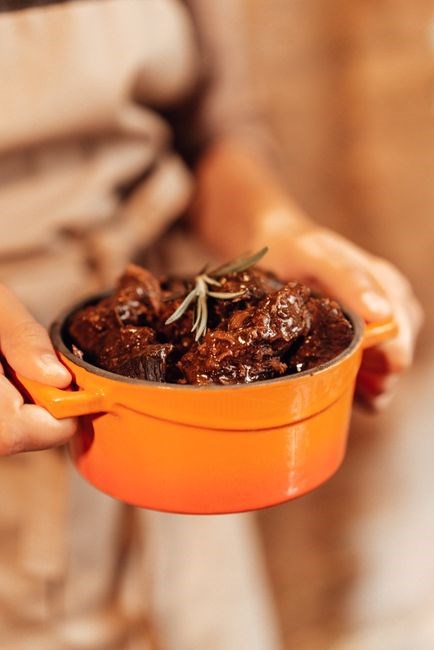
Chop vegetables uniformly for even cooking․ Slice meats thinly to absorb flavors․ Rinse beans before adding․ Add spices at the start for depth, but reserve dairy for the last 30 min to avoid curdling․ Keep a small bowl of broth ready for thinning if needed․Add broth․
When to Add Dairy to Avoid Curdling
Adding dairy to a slow‑cooked dish is a delicate dance․ The key is to introduce it when the heat has dropped to a gentle simmer or when the cooker is in the final 30‑to‑45‑minute window․ High‑temperature simmering can cause proteins to coagulate, producing a lumpy, curdled texture that clings to the pot․ By waiting until the pot’s temperature stabilizes, you allow the dairy to meld smoothly with the broth and aromatics․ Use a whisk to stir the dairy into the liquid, ensuring even distribution․ For cream‑based sauces, heavy cream or half‑and‑half works best; they resist curdling due to higher fat content․ If you prefer a tangy finish, add a splash of sour cream or a spoonful of Greek yogurt, but only after the slow cooker has been turned off or set to a low setting for the last few minutes․ Cheese should be added in small cubes or shredded, and it’s best to sprinkle it over the top just before serving, allowing it to melt without prolonged heat․ A common mistake is to pour dairy directly into the pot while it’s still on high; the sudden temperature shock can break the emulsion․ Instead, pre‑warm the dairy in a separate bowl, then stir it into the slow cooker․ This gentle approach keeps the proteins intact and preserves a silky mouthfeel․ Finally, remember that the type of dairy matters: whole milk curdles more readily than low‑fat milk, so choose your dairy based on the desired richness and the recipe’s flavor profile․ By timing dairy addition correctly, you’ll achieve a dish the slow cooker’s potential !
Stir now!
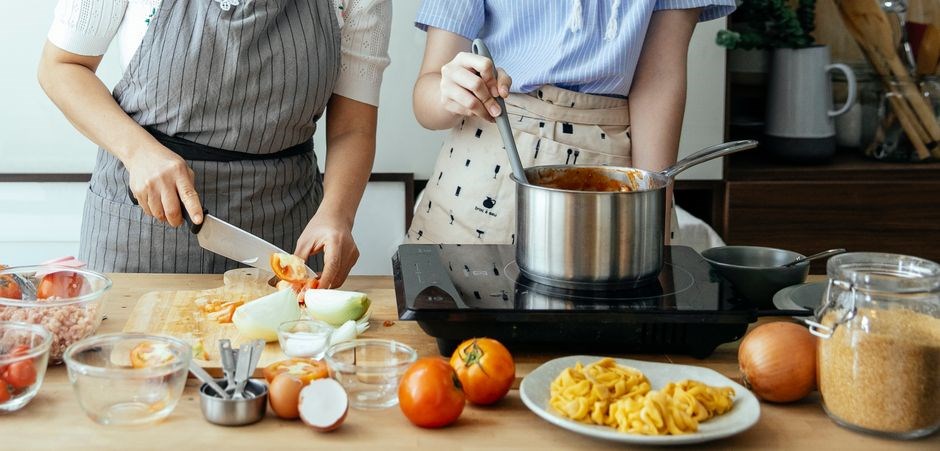
Managing Spices for Prolonged Cooking
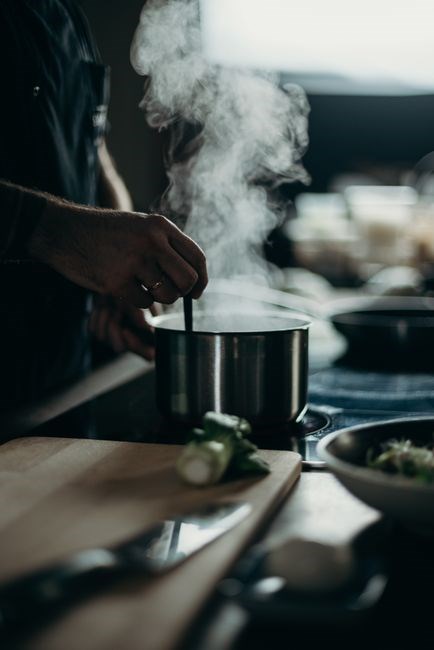
When simmering for hours, spices can lose potency or become overpowering․ The trick is to layer them strategically․ Add robust aromatics—such as whole peppercorns, bay leaves, or cinnamon sticks—at the beginning so they release flavor slowly․ For delicate herbs, wait until the last 30 minutes; fresh thyme, rosemary, or basil should be added near the end to preserve their bright notes․ Ground spices, like cumin or coriander, are best folded in after the initial simmer, as prolonged heat can dull their heat․ A pinch of salt should be added early to draw moisture, but a final seasoning check is essential․ If you’re using spice blends, add a small portion at the start and a larger dose later to balance depth and intensity․ For a “mellow” finish, a splash of vinegar or citrus juice in the final 10 minutes can brighten the profile without breaking the slow‑cooked harmony․ Remember, the slow cooker’s gentle heat means flavors meld over time, so patience and timing are your best allies․ By mastering the sequence of spice addition, you’ll achieve a complex, well‑balanced dish that showcases each ingredient’s best qualities․ For a smoky undertone, toast whole cloves or peppercorns in a dry skillet for a minute before adding them․ A teaspoon of brown sugar or a drizzle of honey toward the end caramelizes gently in the slow cooker․ Freshly grinding whole spices just before cooking releases essential oils and boosts aroma․ If you prefer a subtle sweetness, a tablespoon of maple syrup added in the last 15 minutes will mellow acidity․ Enjoy and savor․ Let flavors mingle serving!
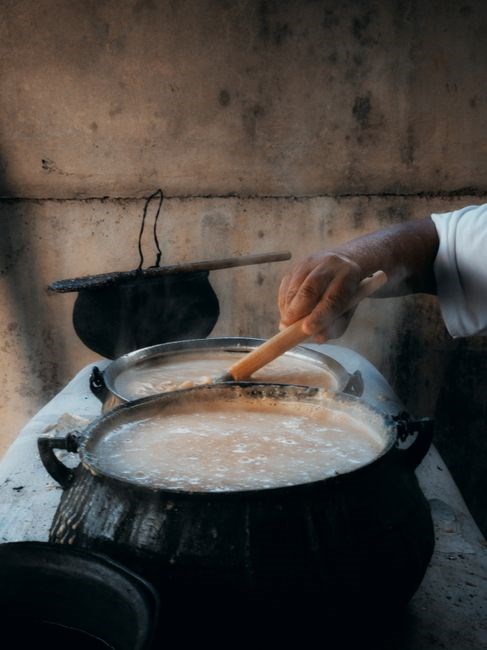
Cleaning and Maintenance
Remove the stoneware,rinse with warm soapy water,and dry․ The removable pot is dishwasher safe; place it on the top rack․ Wipe the lid seal with a damp cloth to keep it airtight․ Store the cooker in a dry place, leaving the pot out of the cabinet to avoid moisture buildup!!
Dishwasher Safe Parts and Cleaning Routine
The Crock‑Pot’s removable stoneware pot, lid, and inner gasket are all dishwasher safe, making cleanup a breeze․ After each use, allow the pot to cool for 10–15 minutes to prevent thermal shock․ Then, remove the lid, rinse the stoneware with warm, soapy water, and place it on the top rack of a standard dishwasher․ The lid should be placed on the middle rack, with the gasket facing down to avoid trapping water; Use a mild detergent and avoid harsh abrasives that could damage the non‑stick coating․ Once the cycle completes, dry the pot and lid with a soft towel before reassembling․
The outer metal housing should be wiped with a damp cloth and mild cleaner; avoid submerging it in water․ For stubborn stains, a paste of baking soda and water can be applied, left for 10 minutes, then rinsed․ Always check the manufacturer’s guidelines for maximum temperature and avoid using the dishwasher for the metal parts․ Regularly inspect the gasket for cracks or wear; replace it if necessary to maintain a proper seal․ By following this routine, your slow cooker will stay hygienic and ready for your next meal․
For weekly maintenance, run a rinse cycle with a cup of white vinegar to eliminate odors and mineral buildup․ If you use the cooker for high‑fat dishes, wipe the interior with a paper towel to absorb excess grease before washing․ Keep the cooker in a dry, well‑ventilated area to prevent mold growth on the gasket․ By adhering to this routine, you’ll extend the life of your appliance and ensure each dish starts with a clean, safe cooking surface․
Remember to inspect the power cord for fraying and replace it if damaged․ Store the cooker with the lid off to allow air circulation, and cover it with a breathable cloth to protect from dust․ If lingering smells persist, sprinkle baking soda inside the pot, close the lid, and let it sit overnight; the powder will absorb odors and leave your cooker fresh․ Always dry all parts thoroughly before reassembly to prevent moisture buildup, which can lead to mold or mildew․
Storing Your Slow Cooker Properly
After each wash, allow the stoneware to dry completely before reassembly․ Store the cooker in a dry, well‑ventilated area to prevent mold on the gasket․ Keep the lid off to allow air circulation; cover the pot with a breathable cloth or paper towel to protect from dust․ Avoid stacking heavy objects on top of the unit, as the metal housing can warp if exposed to excessive pressure․ If you live in a humid climate, place a silica gel packet near the cooker to absorb moisture․ Store the power cord coiled loosely, not tightly wound, to avoid strain on the plug․ Keep the cooker away from direct sunlight or heat sources, which can degrade the plastic components․ For long‑term storage, consider placing a clean, dry towel over the lid and pot to prevent dust accumulation․ If the cooker will be unused for several months, remove the stoneware, wipe it with a dry cloth, and store it separately in a sealed bag․ This prevents any residual moisture from causing mildew․ When ready to use again, inspect the gasket for cracks or wear; replace if necessary to maintain a proper seal․ Follow the manufacturer’s recommendations for maximum storage temperature, typically below 120°F (49°C)․ By adhering to these steps, you’ll preserve the cooker’s performance and extend its lifespan․ Store the cooker in a dry, well‑ventilated area to keep it safe and ready for your next culinary adventure․ If you plan to store the cooker for an extended period, consider placing a dry towel over the lid and pot to prevent dust buildup and maintain a clean environment․ Coil cord avoid stress today!